

How To Fix A Drill Chuck
Introduction
The chuck on a drill is often the first part to wear out or break. Luckily, replacing it is a fairly easy process that does not normally require disassembly of the drill.
Even if the spindle or gearbox of your drill needs replacing - which does require disassembly - it's best to remove the chuck before disassembling the housing.
This guide should help you to replace the chuck on almost any corded or cordless drill, as drill chucks are almost always attached to the spindle by a screw thread. By far the most common thread size is 1/2" x 20tpi UNF, but smaller drills can have a 3/8" or even smaller thread.
In some rare cases such as angle drills, very old models or large machines, the chuck may be mounted on a tapered shank or it may even have a proprietary fitting requiring disassembly of the housing. In those cases, this guide is not applicable. When in doubt, refer to the technical documentation for your make and model.
-
-
Whenever performing repair or maintenance, make sure to unplug the tool first.
-
The last thing you want is for the drill to start spinning a wrench around at 3000 RPM in case you inadvertently pull the trigger!
-
-
-
Open up the jaws all the way and look for a retaining screw at the bottom of the chuck. If a screw is present, you will need to remove it before you can unscrew the chuck.
-
These retaining screws always have a left hand thread, so you'll have to turn clockwise to remove it.
-
Closing the jaws until they just touch the screwdriver can help to keep it centered (especially on slotted screws) and perpendicular.
-
The screw can be stubborn to come loose, especially if it has threadlocking compound on it or if it is rusty. An impact driver can work wonders here. And remember - clockwise!
-
-
-
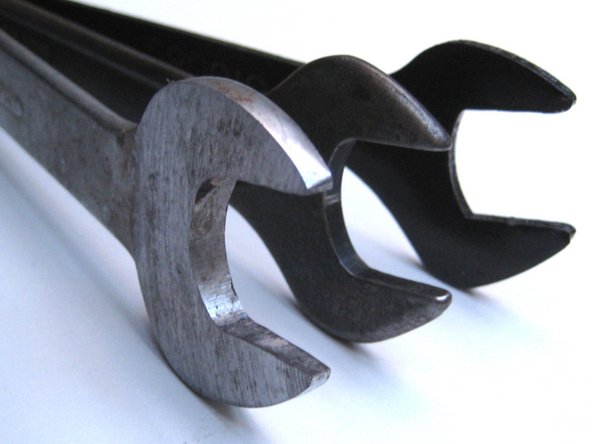
Depending on the specific make and model of your drill and chuck, it may be possible to grip either or both with a regular open end wrench.
-
Some spindles have a hexagon-shaped portion, some have flats machined on two sides. Some chucks also have two flats or a hex shape machined either at the front or back end.
-
Depending on which portions you can fit a wrench to, you'll be using the Twin Wrench, Single Wrench or No Wrench Method.
-
Use the Twin Wrench Method whenever possible as this is more civilized and allows you to apply more controlled force.
-
-
-
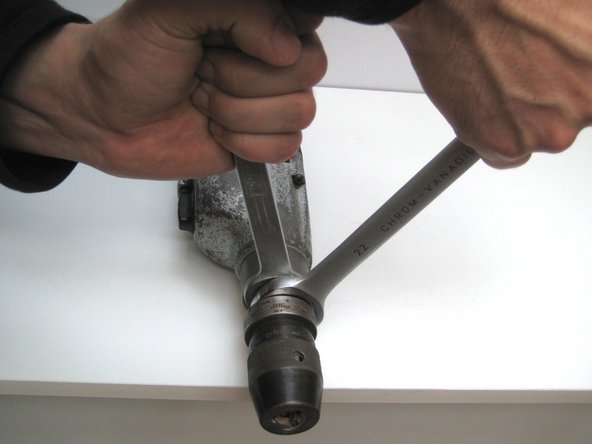
If both the spindle and the chuck have some provision that allows the use of a wrench, it's your lucky day!
-
In some cases, you may need to use a thin wrench (or grind down a regular one) as there may not be sufficient space to fit a regular size wrench.
-
Unlike the retaining screw, the chuck is held on with a regular right-hand thread. Turn counter-clockwise to remove.
-
With the opposing action of two wrenches, even the most stubborn of chucks should come loose.
-
-
-
If the chuck has no provision for a wrench, the easiest way to turn it forcefully is by means of a hex key gripped in the chuck jaws by its short end.
-
If a wrench can be fitted to the spindle, lay the drill flat on the edge of a workbench or sturdy table, with the wrench resting on the table, the chuck overhanging the edge and the hex key pointing slightly upwards from horizontal.
-
It won't hurt to try if you can release the chuck by pushing down on the hex key by hand - though this will rarely work.
-
If hand force isn't sufficient, firmly hold down the drill and give the end of the hex wrench a solid whack, preferably with a wooden or plastic hammer. A sharp blow should loosen the chuck instantly.
-
-
-
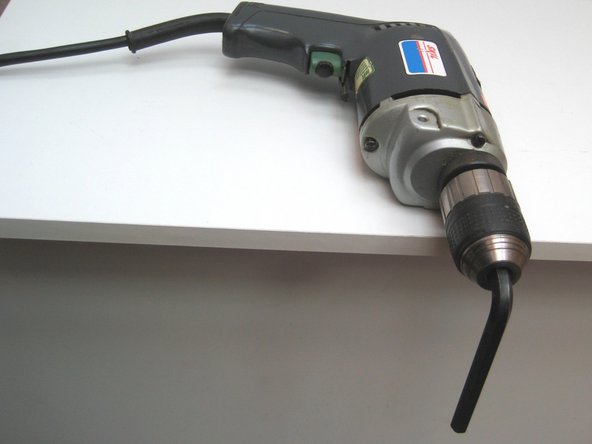
Even if the spindle cannot be gripped by any means, the hex key method described in the previous step will usually work on both corded and cordless models.
-
Many cordless drills have an automatic spindle lock.
-
On mains powered drills, inertia of motor and gears usually offers sufficient resistance to free the chuck from the spindle.
-
If you're relying solely on inertia, you need a sudden jolt to loosen the chuck. Press down hard on the drill to keep it from moving and hit the hex key with a particularly sharp blow.
-
This will take a steel hammer - much as you may hate to mistreat your beloved hex wrench like that - as a plastic or wooden hammer would cushion the impact.
-
-
-
For cordless drills and low speed/high torque corded models, an alternative to the No Wrench Method is to grip the hex key in a vise, put the drill in reverse, hold it tightly with both hands and squeeze the trigger.
-
However this method is not for beginners as it is not without risk: the reaction torque could hurt your wrist and the locked rotor current could burn out the drill motor.
-
If the drill has a mechanical speed selector and/or clutch, make sure to set the gear to the lowest speed and/or the clutch to the highest setting.
-
-
-
If the chuck is completely broken, you may not be able to tighten its jaws on a hex key. In those cases, the Single Wrench or No Wrench Method won't work.
-
On keyed chucks, if no other provision for gripping is present, you can use a hook spanner by locating the pin in one of the holes for the chuck key.
-
If you were born under a very lucky star, you might get away with fitting a chuck key and hitting that with a hammer at just the right angle. I did not tell you to do that.
-
A pipe wrench will grip just about any chuck, but at the risk of damaging it.
-
If all else fails, it is always possible to disassemble the drill, clamp either the chuck or the spindle in a vise and grip the other part with a pipe wrench or other gripping tool. This is very likely to damage the spindle and/or chuck though.
-
-
-
If there's no retaining screw and you anticipate forceful counterclockwise action (as when unscrewing), apply a small amount of threadlocking compound to the spindle thread.
-
Use a medium-strength variety, not the kind you'll have to heat with a blowtorch if you need to take off the chuck again at a later stage!
-
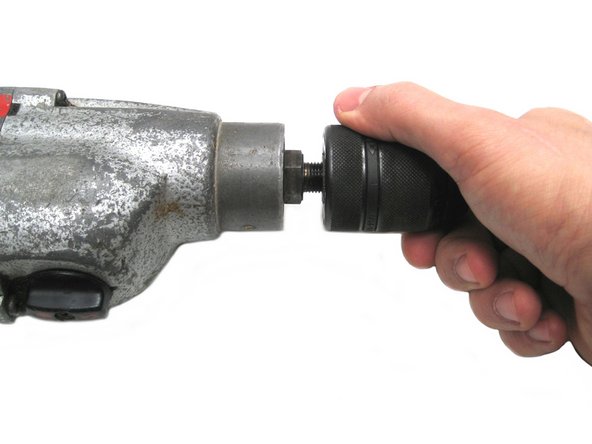
Screw the chuck onto the spindle as far as it will go. You don't need to tighten it with excessive force, it will tighten itself with normal use.
-
-
-
Insert and tighten the retaining screw if applicable (not all chucks are counterbored to accept a retaining screw).
-
Counter-clockwise of course!
-
If the screw is damaged, use a fresh one to spare yourself some aggravation down the road.
-
It doesn't hurt to also treat these threads to a dab of threadlocker.
-
-
-
Presto - your new chuck should provide you with years of drilling joy!
-


Embed this guide
Choose a size and copy the code below to embed this guide as a small widget on your site / forum.
Preview
How To Fix A Drill Chuck
Source: https://www.ifixit.com/Guide/Power+Drill+Chuck+Replacement/75418
Posted by: lucasdocials.blogspot.com
0 Response to "How To Fix A Drill Chuck"
Post a Comment